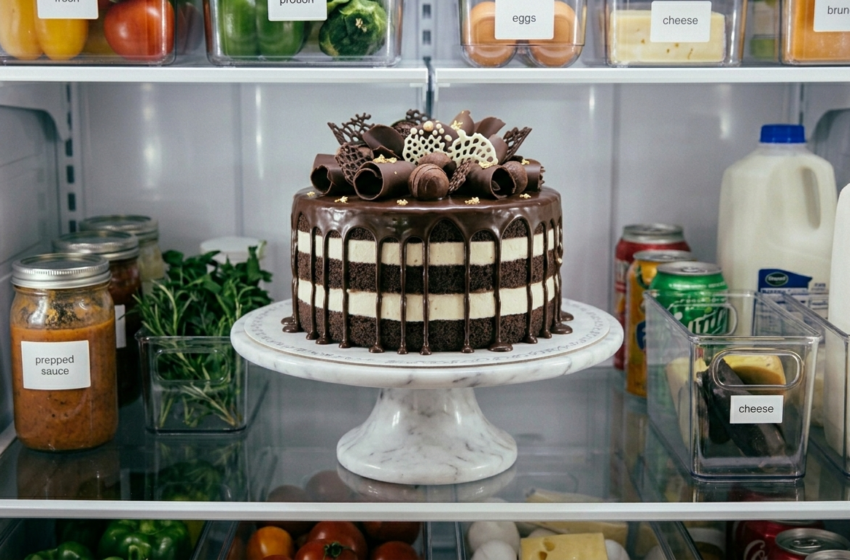
If you’ve ever found yourself standing in the Costco bakery aisle, eyeing that towering tuxedo cake and wondering whether you could make something even better at home — you absolutely can. This tuxedo cake recipe delivers everything you love about the original: dramatically dark chocolate cake layers, a cloud-like silky chocolate mousse filling, and a glossy dark chocolate ganache that drips down the sides like a bakery dream.
Table of Contents
What Is a Tuxedo Cake? (+ Why It’s Called That)
A tuxedo cake is a showstopping layered chocolate cake filled with a lighter white or milk chocolate mousse and finished with a dark chocolate ganache glaze. The name comes straight from the visual contrast the cake creates: the deep, nearly-black chocolate cake layers paired with the bright, creamy mousse filling mirror the classic black-and-white color palette of a formal tuxedo. It’s dressed to impress — literally.
While the exact origin is fuzzy (most food historians trace it to American bakery culture in the late 20th century), the tuxedo cake rose to widespread fame largely thanks to Costco’s Kirkland Signature version, which became a cult favorite at parties and potlucks nationwide. At its core, a traditional tuxedo cake recipe is about that contrast: dark and bold on the outside, light and airy on the inside. It’s an elegant celebration cake that looks far more complex than it actually is to make.
What Makes Tuxedo Cake Different From Regular Chocolate Cake
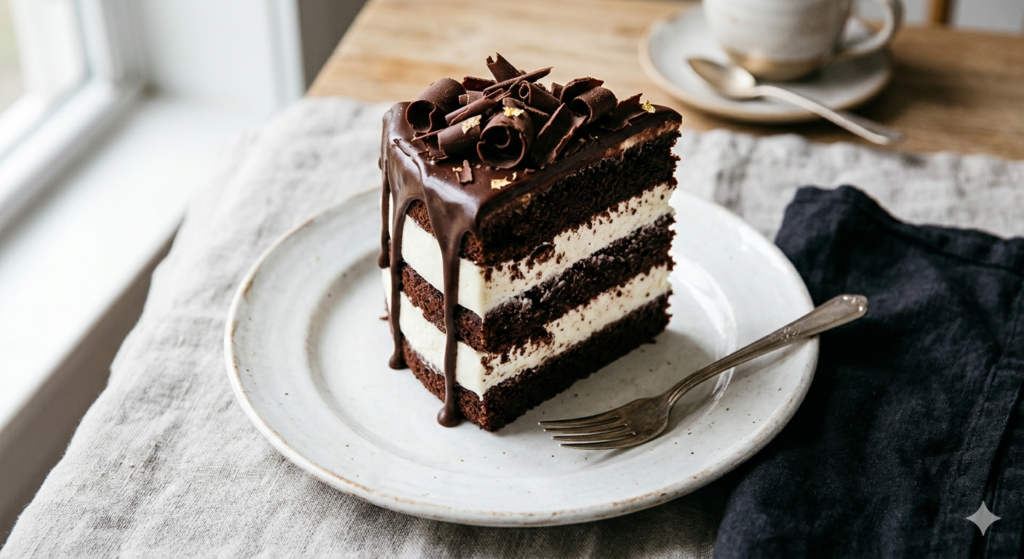
A standard chocolate layer cake might use buttercream or ganache between its layers — both delicious, but dense. What sets a tuxedo cake apart is the mousse. That fluffy mousse filling is lighter than air, creating a textural counterpoint to the moist, fudgy chocolate cake surrounding it. Every forkful delivers a melt-in-your-mouth experience: first the slight crunch of chocolate curls, then the glossy chocolate glaze, followed by a tender, rich chocolate cake layer giving way to silky chocolate mousse. It’s a layered chocolate cake experience in the truest sense — each component is distinct, yet they come together as one extraordinarily cohesive, indulgent chocolate dessert. This is not a cake you casually eat. It commands attention.
Tuxedo Cake Ingredients You’ll Need
The secret to a truly bakery-style result is using quality ingredients from the start. Reach for good-quality Dutch-process cocoa, real dark chocolate (not chips), and full-fat heavy cream. These choices pay dividends in every single bite.
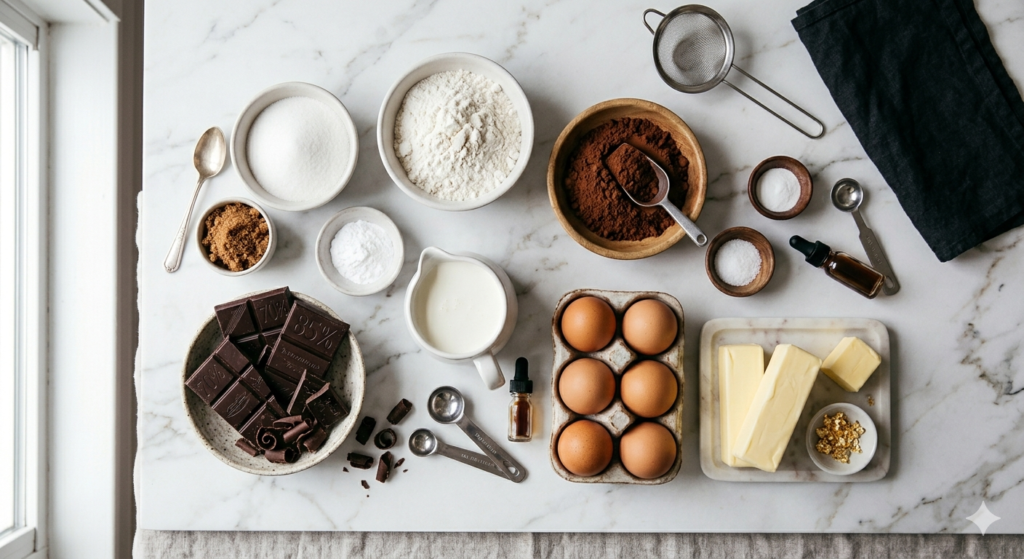
For the Moist Chocolate Cake Layers
- 2 cups (250g) all-purpose flour
- 2 cups (400g) granulated sugar
- ¾ cup (75g) Dutch-process cocoa powder, sifted
- 2 tsp baking soda
- 1 tsp baking powder
- 1 tsp fine sea salt
- 2 large eggs, room temperature
- 1 cup (240ml) buttermilk, room temperature
- 1 cup (240ml) hot brewed coffee (or hot water — but coffee deepens the rich chocolate flavor without tasting like coffee)
- ½ cup (120ml) neutral oil (vegetable or canola)
- 1 tsp pure vanilla extract
Baker’s Note: Hot coffee is the single most underrated trick in chocolate cake baking. It doesn’t make the cake taste like coffee — it amplifies the cocoa compounds, giving you a dramatically deeper, richer chocolate flavor than hot water alone.
For the Silky Chocolate Mousse Filling
- 8 oz (225g) good-quality dark chocolate (60–70% cacao), finely chopped
- 2 cups (480ml) heavy whipping cream, cold, divided
- 3 tbsp powdered sugar, sifted
- 1 tsp pure vanilla extract
- Pinch of fine sea salt
The key to an ultra-creamy mousse texture is temperature: your chocolate must be warm, your cream must be cold, and you must fold — not stir — with patience.
For the Dark Chocolate Ganache Glaze
- 8 oz (225g) bittersweet chocolate (70% cacao), finely chopped
- 1 cup (240ml) heavy cream
- 1 tbsp unsalted butter (for extra gloss)
- Chocolate curls, for decoration (made from a good-quality dark chocolate bar using a vegetable peeler)
How to Make Tuxedo Cake From Scratch (Step-by-Step)
This is an easy tuxedo cake recipe broken into five clearly defined stages. Even if you’ve never made a mousse-filled cake before, these instructions will walk you through every step with confidence. Set aside a few hours (most of it is hands-off chilling time), and you’ll end up with a homemade tuxedo cake that genuinely rivals anything from a professional bakery.
Step 1 – Bake the Moist Chocolate Cake Layers
- Preheat the oven to 350°F (175°C). Grease two 9-inch round cake pans, line the bottoms with parchment paper, and grease the parchment. Dust lightly with cocoa powder and tap out the excess.
- Whisk together the flour, sugar, Dutch-process cocoa, baking soda, baking powder, and salt in a large bowl until well combined.
- In a separate bowl or large measuring cup, whisk together the eggs, buttermilk, oil, and vanilla extract.
- Pour the wet ingredients into the dry ingredients and stir until just combined — a few streaks are fine.
- Slowly pour in the hot coffee while stirring. The batter will be thin; this is correct. Thin batter equals moist cake layers.
- Divide the batter evenly between the prepared pans. Tap each pan gently on the counter a few times to release air bubbles.
- Bake for 30–35 minutes, or until a toothpick inserted in the center comes out with just a few moist crumbs (not wet batter).
- Cool in the pans for 15 minutes, then turn out onto wire racks and cool completely before assembling — at least 1 hour.
Baker’s Note: For perfectly flat layers, use cake strips (strips of damp fabric that wrap around the pan). They insulate the pan edges, helping the cake bake evenly from edge to center instead of doming in the middle. No strips? Simply level each layer with a serrated knife before assembling.
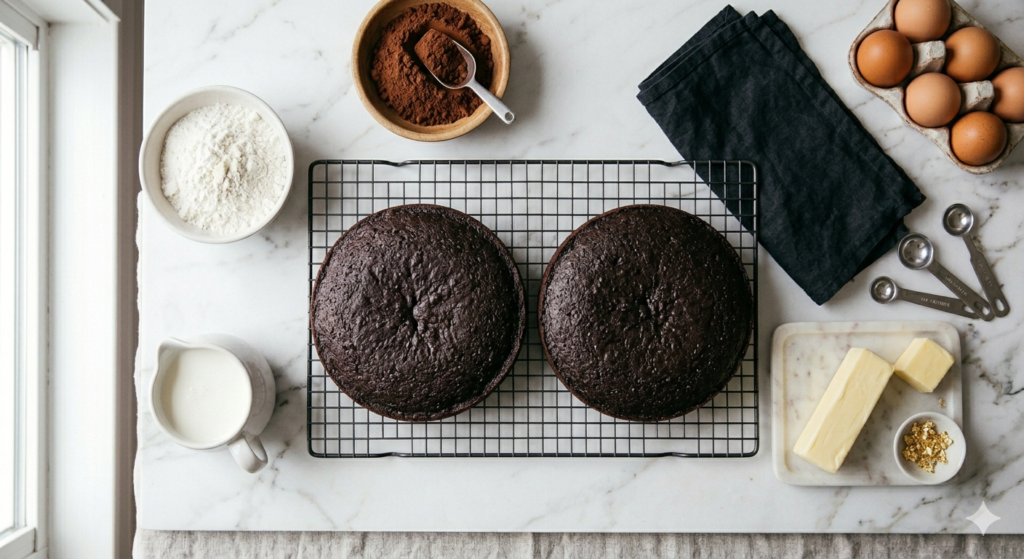
Step 2 – Make the Silky Chocolate Mousse Filling
- Place the chopped dark chocolate in a heatproof bowl. Heat ½ cup (120ml) of the heavy cream in a small saucepan over medium heat until it just begins to simmer around the edges — do not let it boil.
- Pour the hot cream over the chocolate. Let it sit undisturbed for 2 minutes, then stir from the center outward until completely smooth and glossy. This is your ganache base.
- Let the ganache cool to room temperature, about 20–30 minutes. It should feel neither warm nor cold to the touch. This step is critical — if it’s too warm, it will deflate your whipped cream.
- Meanwhile, pour the remaining 1½ cups (360ml) cold heavy cream into a chilled mixing bowl. Add the powdered sugar, vanilla, and salt. Beat with a hand mixer or stand mixer on medium-high until you reach firm peaks — the cream should hold its shape but not look grainy.
- Add one-third of the whipped cream to the cooled chocolate ganache and stir vigorously to lighten the mixture.
- Gently fold in the remaining whipped cream in two additions, using a large rubber spatula and a sweeping fold motion. Stop folding as soon as no white streaks remain — you want to keep that light and airy mousse texture intact.
- Cover and refrigerate for 30 minutes to firm up slightly before spreading.
Baker’s Note: Don’t rush the fold. Over-mixing mousse is the most common mistake — you’ll end up with a dense, grainy filling instead of the creamy mousse texture this cake is famous for. Slow, deliberate folds preserve the air you worked so hard to whip in.
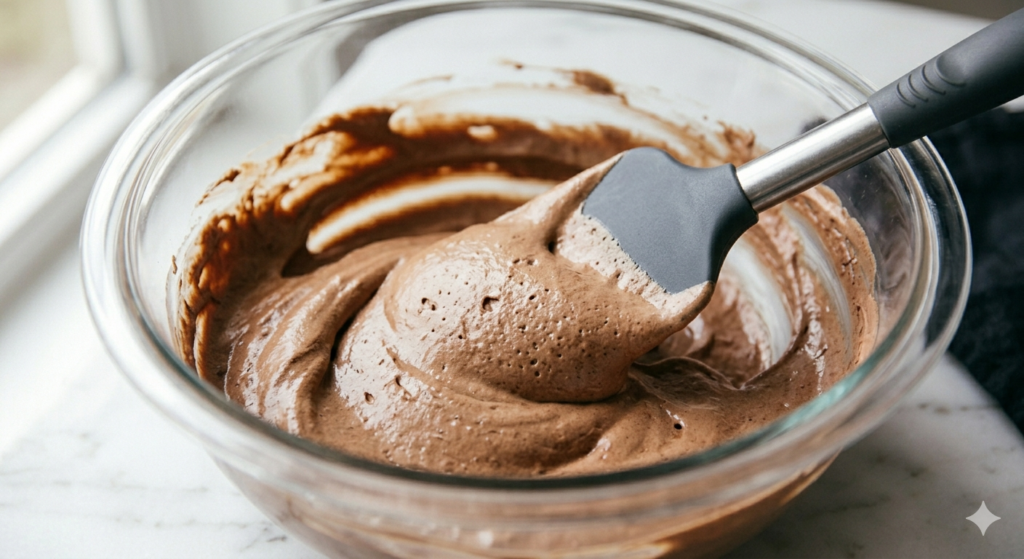
Step 3 – Prepare the Dark Chocolate Ganache
- Place the finely chopped bittersweet chocolate in a heatproof bowl.
- Heat the heavy cream in a small saucepan over medium heat until it just reaches a simmer — you’ll see wisps of steam and tiny bubbles forming at the edge. Do not boil.
- Pour the hot cream over the chocolate. Add the tablespoon of butter. Let sit for 3 minutes without stirring.
- Starting from the center, stir in slow, tight circles, gradually widening outward until the ganache is completely smooth, glossy, and uniform.
- Let the ganache cool at room temperature until it thickens to a pourable but not runny consistency — about 15–20 minutes. You want it to coat the back of a spoon and pour in a slow, steady stream. If it’s too warm, it will run right off the cake. If it’s too cool, it won’t spread smoothly.
Baker’s Note: Temperature is everything with ganache. A quick fix if your ganache thickens too much: microwave in 5-second intervals, stirring between each, until it loosens. Too runny? Give it more time at room temperature, or set the bowl briefly in the refrigerator for 5 minutes, checking often.
Step 4 – Assemble the Layered Chocolate Cake
- Place one completely cooled chocolate cake layer on a cake board or serving plate. If using a turntable, now’s the time to set it up — it makes spreading significantly easier.
- Spoon or pipe the chilled chocolate mousse filling onto the first layer. Spread it into an even, generous layer (about ¾ to 1 inch thick) using an offset spatula. Leave a ½-inch border at the edge — the mousse will spread out under the weight of the second layer.
- Carefully set the second cake layer on top, flat side down, pressing gently to adhere.
- Using the offset spatula, scrape away any mousse that’s squeezed out from the sides and clean up the edges.
- Refrigerate the assembled cake (without ganache) for at least 30 minutes to firm everything up. This prevents the layers from sliding during the ganache step.
Baker’s Note: For an even more dramatic tuxedo effect, pipe a ring of mousse around the top edge of the bottom cake layer before filling the center. It creates a defined visual border between layers when the cake is sliced.
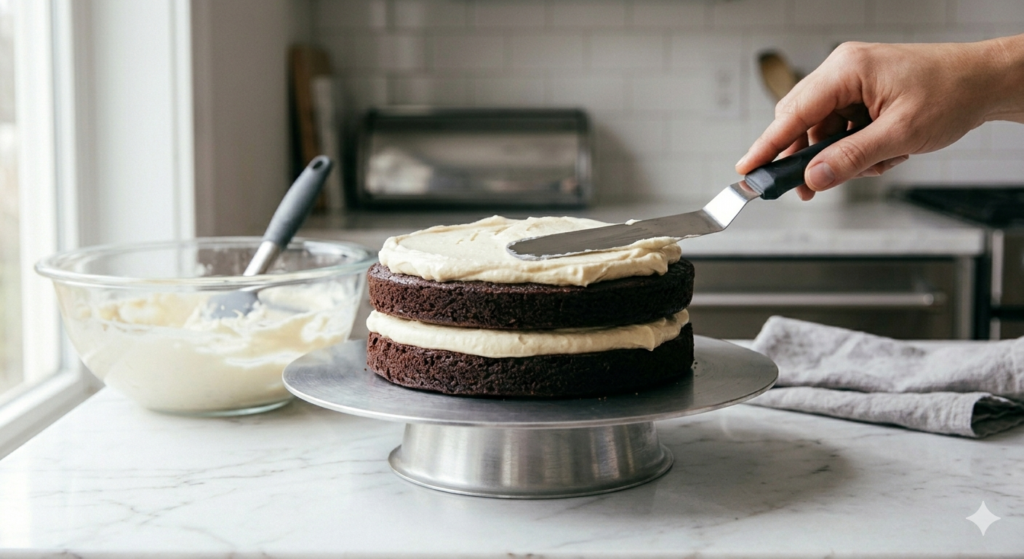
Step 5 – Finishing With Chocolate Ganache & Chocolate Curls
- Remove the chilled, assembled cake from the refrigerator and place it on a wire rack set over a rimmed baking sheet (to catch drips).
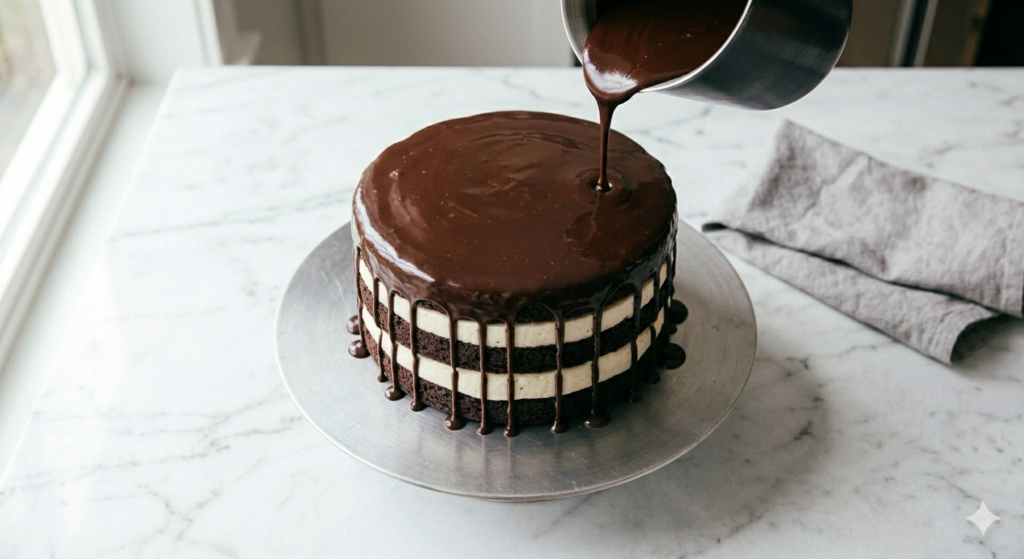
- Pour the room-temperature ganache slowly over the center of the cake, letting it spread toward and over the edges naturally. For the signature drip effect, guide the ganache gently with an offset spatula to encourage it over the sides.
- For a smooth top finish, pour all the ganache at once, then use a single confident stroke of the offset spatula across the top. For a more dramatic drip look, pour in a slow circle, letting gravity do the work.
- Immediately decorate with chocolate curls. To make them: use a sharp vegetable peeler dragged firmly along the edge of a room-temperature dark chocolate bar. The curls will fall directly onto the ganache before it sets.
- Refrigerate the finished cake for at least 1 hour (preferably 2–3 hours) before slicing. This allows the mousse to set fully and the ganache to firm into that beautiful, glossy chocolate glaze.
Baker’s Note: For the cleanest, most bakery-worthy slices, run a sharp knife under hot water, wipe it dry, and make each cut in one slow, deliberate motion. Clean the blade between every slice.
Costco Tuxedo Cake Copycat Recipe (Kirkland Signature Style)
If you’ve ever picked up a Costco tuxedo cake — officially sold as the Kirkland Signature Tuxedo Chocolate Mousse Cake — you know exactly why it developed a devoted following. It’s an oversized, two-layer chocolate cake filled with a white and dark chocolate mousse, finished with a deep dark chocolate ganache, and decorated with chocolate swirls across the top. The whole thing weighs in at around 4 pounds and feeds a crowd without breaking the bank, which explains its perpetual presence at birthdays, holiday gatherings, and office parties.
The Costco tuxedo chocolate mousse cake has a few defining characteristics that set it apart from your average bakery chocolate cake. The chocolate cake layers are moist and relatively dense — clearly designed to hold up to the generous mousse filling without crumbling. The mousse itself has a distinct two-tone look: a layer of dark chocolate mousse alongside a lighter white or milk chocolate mousse, which gives the interior that striking tuxedo contrast the name promises. The ganache coating is thick, glossy, and deeply chocolatey — not sweet, but rich in the way only a good bittersweet glaze can be.
This homemade version matches the Costco-style tuxedo cake in every way that matters — and in several important ways, it’s actually better.
Freshness: The Costco chocolate mousse cake sits in a refrigerated display case for days before it reaches your table. When you make it from scratch, every component is at its peak. The mousse is still airy, the cake layers are still tender, and the ganache has that just-made sheen.
Customizability: Want more mousse? Add it. Prefer a bittersweet ganache over a sweeter one? You’re in control. The homemade tuxedo cake recipe from scratch lets you tune every element to your exact preference — something a mass-produced Costco-style tuxedo cake simply cannot offer.
Cost savings: A Costco tuxedo cake typically runs $20–$25. The ingredients for this homemade Costco copycat tuxedo cake cost approximately the same, and you’ll end up with a cake that tastes fresher, looks more impressive, and carries the satisfaction of having made it yourself.
The key differences in technique: Where Costco’s version uses white chocolate mousse alongside dark for its two-tone effect, this recipe goes all-in on a single silky dark chocolate mousse filling — a choice that actually amplifies the visual contrast with the black ganache exterior and rewards you with a more uniformly decadent chocolate experience. If you want to replicate the precise Kirkland look, simply make half a batch of white chocolate mousse (substitute white chocolate for dark in the mousse recipe) and layer the two mousse types side by side.

Pro Baker Tips for the Best Tuxedo Cake Every Time
These aren’t filler tips — they’re the specific techniques that separate a good chocolate layer cake from an extraordinary one.
- Bring your dairy to room temperature before mixing. Cold eggs and cold buttermilk don’t incorporate as smoothly into the batter, which can result in a slightly denser crumb. Set them out 30–45 minutes before you start.
- Use Dutch-process cocoa, not natural cocoa. Dutch-process cocoa has been alkalized, giving it a darker color, a smoother flavor, and less acidity. The result is a more intensely colored cake with a rounder, less sharp chocolate taste — exactly what this recipe needs.
- Don’t skip the hot coffee in the batter. The hot liquid blooms the cocoa powder, and the coffee itself contains compounds that heighten chocolate perception on the palate. It’s the single easiest way to make your chocolate cake taste more chocolatey.
- Chill your mousse before assembling. A mousse that’s been refrigerated for 30 minutes is firm enough to spread without collapsing, yet still light and airy when you bite into it.
- Nail your ganache temperature. Pour it too hot and it flows right off the cake and puddles on the plate. Too cool and it drags the surface of the cake. Target that window where it pours like warmed honey — slow, thick, and controlled.
- Always assemble on a cold cake. Never skip the post-assembly chill. A firm, cold cake stack holds its shape during the ganache pour and makes for cleaner, more professional slices.
Tuxedo Cake Storage: Refrigeration, Freezing & Shelf Life
The mousse filling means this is one cake that absolutely must be stored with some care — but it’s nothing complicated.
Common Mistakes to Avoid (Troubleshooting Guide)
Even experienced bakers run into snags with a multi-component cake like this. Here’s how to identify what went wrong and fix it.
1. Overbaked, dry cake layers Cause: Oven temperature too high, or baking for too long. Because this batter is quite thin, it can go from just-done to overbaked quickly. Fix: Start checking at 28 minutes with a toothpick. The goal is a few moist crumbs — not a clean pick. A clean toothpick means the cake is already overbaked. Use an oven thermometer if you suspect your oven runs hot.
2. Mousse is too runny and won’t hold shape Cause: The ganache base was still too warm when you folded in the whipped cream, melting it; or the cream wasn’t whipped to firm peaks. Fix: Let the ganache cool completely to room temperature before folding (it should feel neutral — not warm, not cold). Ensure your cream is ice-cold and whipped to firm (not soft) peaks.
3. Ganache is too thick and drags the surface of the cake Cause: The ganache cooled too much before pouring. Fix: Microwave in 5-second intervals, stirring between each, until it loosens. Alternatively, set the bowl over a bowl of very warm (not boiling) water and stir gently.
4. Cake layers sliding during assembly Cause: The mousse was too soft, or the cake layers weren’t completely cool when assembled. Fix: Ensure cake layers are fully cooled and the mousse has been refrigerated for at least 30 minutes. After stacking, insert a wooden skewer or dowel through the center of the assembled cake and refrigerate for 1 hour before adding ganache.
5. Mousse filling oozing out the sides after slicing Cause: Insufficient chilling time after assembly, or mousse wasn’t firm enough when spread. Fix: Refrigerate the fully assembled cake for a minimum of 2–3 hours (overnight is ideal) before the first slice. A cold, set mousse holds its edge cleanly.
6. Chocolate curls breaking instead of curling Cause: Chocolate is too cold — cold chocolate snaps rather than curls. Fix: Let the chocolate bar sit at room temperature for 20–30 minutes before peeling. Alternatively, warm the chocolate bar briefly with the palm of your hand before dragging the peeler.
Does tuxedo cake need refrigeration?
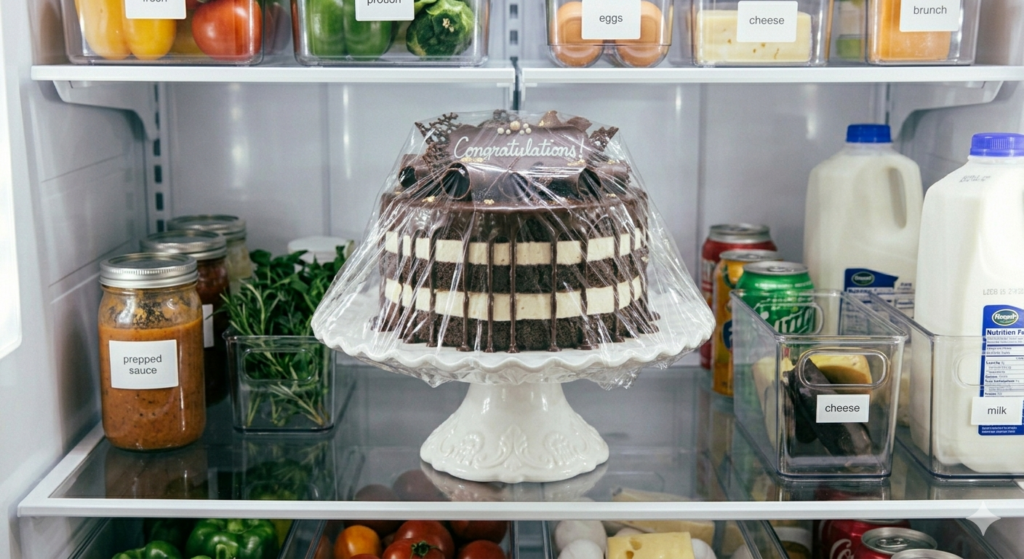
Yes, always. Because the filling is made from whipped heavy cream and chocolate, leaving tuxedo cake at room temperature for more than 2 hours is a food safety risk. More practically, the mousse will begin to soften and lose its structure without refrigeration. Store the cake covered loosely with plastic wrap or in a cake dome in the refrigerator.
How long does tuxedo cake last?
A properly stored tuxedo cake will keep in the refrigerator for up to 4–5 days. The cake layers may become slightly more moist over time (actually not a bad thing), while the ganache will firm further. For best texture and flavor, enjoy within the first 3 days.
Can tuxedo cake be frozen?
Yes — with a smart approach. Freeze the individual components separately for best results: wrap the baked, unfrosted cake layers tightly in plastic wrap then foil and freeze for up to 3 months. The mousse filling does not freeze particularly well on its own (the texture can become grainy after thawing), so make it fresh when you’re ready to assemble. However, a fully assembled and ganache-topped tuxedo cake can be frozen whole: wrap tightly in two layers of plastic wrap, then foil. Thaw overnight in the refrigerator before serving.
What is a tuxedo cake?
A tuxedo cake is a multi-layer chocolate cake filled with a light chocolate mousse filling and finished with a dark chocolate ganache glaze. The name refers to the black-and-white visual contrast between the dark chocolate exterior and the lighter mousse interior — evoking the look of a formal tuxedo. It’s considered an elegant celebration cake, popular for birthdays, weddings, and holidays.
Why is it called tuxedo cake?
It’s called tuxedo cake because of the striking color contrast it creates: dark chocolate cake and ganache on the outside (black), lighter mousse filling visible between the layers (white). The combination mirrors the classic black-and-white formal dress of a tuxedo. The name became especially widely used after Costco popularized their Kirkland Signature Tuxedo Chocolate Mousse Cake.
What is in Costco tuxedo cake?
The Costco Kirkland Signature Tuxedo Chocolate Mousse Cake contains moist chocolate cake layers filled with both white and dark chocolate mousse, coated in a dark chocolate ganache glaze and decorated with chocolate swirls. It typically contains dairy, eggs, wheat, and soy. Exact ingredients vary slightly by location and production date. It’s designed to serve a large crowd and is sold refrigerated.
Related Recipes
Oreo Tres Leches Cake Recipe (Easy, Ultra Moist & Irresistible!)
Granny’s Chess Cake Recipe: The Original Southern Classic That Everyone Begs For
the Famous LAUSD Old Fashioned Coffee Cake Recipe
Visit Homepage: myrecipescollections.com

Hi, I’m Jamie! I’m a home cook turned recipe developer with a deep love for honest, approachable food. After years of experimenting in my own kitchen — and feeding anyone who’d sit still long enough — I started My Recipes Collections to share the dishes that have become staples at my table.
My recipes focus on bold flavors, simple techniques, and ingredients you can actually find at your local grocery store. Whether you’re a weeknight warrior or a weekend baker, there’s something here for you.